For most of the hydrangeas we grow here in New Zealand, the best time to get the secateurs out is anytime from late autumn right through to late winter, or even very early spring around August. Honestly, getting this timing right is probably the single most important thing you can do to guarantee a spectacular show of blooms come summer.
It all boils down to understanding your specific hydrangea variety and keeping an eye on your local climate.
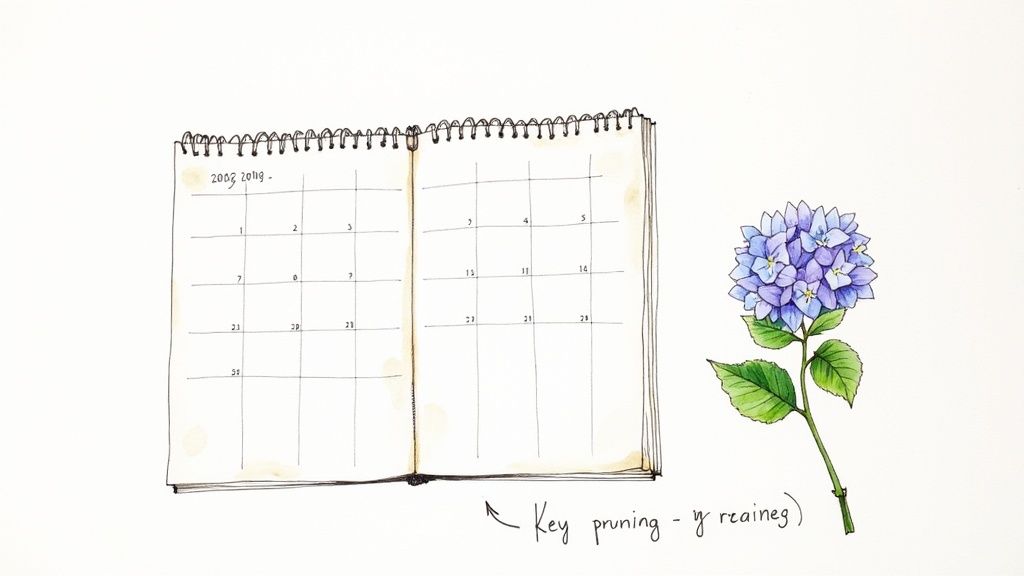
Finding the Perfect Pruning Window in New Zealand

Figuring out when to prune your hydrangeas is less about circling a date on the calendar and more about watching your plant and the weather. The whole point is to give the plant a good tidy-up after it’s finished flowering, but before the new growth that will carry next season’s flowers starts to shoot away. This is why knowing exactly when to prune hydrangeas in NZ can feel like a bit of a balancing act.
You could prune in late autumn to get rid of all the spent flower heads and shape the bush before winter really bites. Many Kiwi gardeners, however, prefer to hold off for a bit.
Why Late Winter Is Often Better
There's a good reason for procrastinating. Leaving those old, dried flower heads on the plant over winter actually gives the delicate new buds forming further down the stems a bit of protection from frost. This is especially true if you live in the chillier parts of the country.
The old flower heads act like little umbrellas, shielding the new buds from the worst of the winter frosts. Many experienced gardeners in colder regions will deliberately wait until the risk of a hard frost has passed in late winter before making their first cut.
Ultimately, the most critical thing to know isn't just the season, but whether your hydrangea flowers on ‘old wood’ (last year's stems) or ‘new wood’ (this year's fresh growth). This one detail changes your entire game plan.
Understanding this simple concept is the key that unlocks a successful prune every single time, leading to healthier plants and more magnificent blooms. For a closer look at the different methods, check out our complete guide to pruning hydrangeas in NZ.
Quick Pruning Guide for Hydrangea Types in NZ
To make things easier, here’s a quick summary of the best pruning times for the most common hydrangea varieties you'll find in New Zealand gardens.
| Hydrangea Variety | Flowers On | Best Pruning Time in NZ | Pruning Goal |
|---|---|---|---|
| Bigleaf (H. macrophylla) | Old Wood | Late Winter to Early Spring | Remove old flower heads & dead/weak stems. |
| Panicle (H. paniculata) | New Wood | Late Winter to Early Spring | Shape the plant & encourage strong new growth. |
| Smooth (H. arborescens) | New Wood | Late Winter | Can be cut back hard to promote vigorous growth. |
| Oakleaf (H. quercifolia) | Old Wood | After flowering in Summer | Lightly shape & remove spent blooms. |
| Climbing (H. petiolaris) | Old Wood | After flowering in Summer | Tidy up shape & control size. |
This table should help you quickly identify the right season for your specific plant, taking the guesswork out of the process.
Figuring Out Your Hydrangea Type for the Perfect Prune
Before you even think about picking up the secateurs, the most important thing is to know what kind of hydrangea you’re dealing with. Different varieties need completely different approaches, and one wrong snip could mean no flowers at all next summer.
It all boils down to one key question: does your plant flower on ‘old wood’ or ‘new wood’?
Most Kiwi gardens are full of the classic Bigleaf hydrangeas (Hydrangea macrophylla), which covers the ever-popular Mophead and Lacecap types. These beauties bloom on old wood. This just means that the flower buds for next year actually form on this season’s stems, usually in late summer and autumn.
This is exactly why knowing when to prune hydrangeas in NZ is so critical for these plants. Pruning them at the wrong time of year, like in late winter or early spring, means you'll be cutting off all of next season's gorgeous blooms. It’s a common mistake, but an easy one to avoid! To get the timing just right, you can discover more insights about hydrangea care in NZ from seasoned garden experts.
Old Wood Bloomers
These are the hydrangeas you’ll see most often, and they need a gentle touch.
- Mophead Hydrangeas: You'll know them by their huge, round, pom-pom-like flower heads. They come in stunning shades of blue, pink, purple, and pure white.
- Lacecap Hydrangeas: These have delicate, flatter flower heads with a cluster of tiny, fertile buds in the middle, framed by an outer ring of large, showy petals.
- Oakleaf Hydrangeas (H. quercifolia): Famous for their unique oak-shaped leaves and long, cone-shaped white flowers. They also bloom on old wood.
For any of these varieties, the golden rule is simple: prune them lightly, right after they finish flowering in late summer or early autumn. This gives the plant heaps of time to push out the new growth that will carry next year's flowers.
New Wood Bloomers
On the other hand, some hydrangeas are much more forgiving. These types flower on new wood—that’s the growth that shoots up in the current season. This means you can get stuck in and prune them back quite hard in late winter or early spring without worrying about losing the flower show.
These easy-going types include:
- Panicle Hydrangeas (H. paniculata): Often called 'PeeGee' hydrangeas, they have impressive cone-shaped flower heads. The popular 'Limelight' is one of these, starting with lime-green flowers that blush to pink and red as they age.
- Smooth Hydrangeas (H. arborescens): The most famous is the 'Annabelle', which produces enormous, perfectly round, brilliant white flower heads.
Because these plants form their flower buds on the fresh growth they produce in spring, you have a much bigger and safer window for pruning. They're a fantastic, low-stress choice if you're new to the world of hydrangeas.
Gathering Your Essential Pruning Toolkit
Having the right gear on hand can turn pruning from a chore into a genuinely satisfying job. You don’t need a whole shed full of tools, but a few quality items will make your life much easier and, more importantly, keep your hydrangeas healthy. The goal is always a clean, precise cut.
For most of your hydrangea pruning, a sharp, clean pair of bypass secateurs is all you'll need. Think of them like scissors for plants. They make a clean slice that heals quickly, which is much better than anvil secateurs that can crush and damage the stems. This will be your go-to for almost everything.
When you come across those thicker, woodier stems that make your secateurs complain, it’s time to reach for the loppers. Their long handles give you the extra leverage to get through branches up to about 4-5cm thick without a struggle.
Handling Major Pruning and Hygiene
Every now and then, you’ll face an old, overgrown hydrangea that needs a serious haircut. For the really thick, woody stems right at the base of the plant that even loppers can't handle, a small pruning saw is perfect. Its sharp teeth will make short work of those major rejuvenation cuts.
No matter what tool you're using, tool hygiene is non-negotiable. It’s incredibly easy to spread fungal spores and other diseases from one plant to the next on dirty blades. A quick wipe with a cloth soaked in methylated spirits or a diluted bleach solution between plants is all it takes to stop the spread.
Keeping your tools sharp is just as crucial. A sharp blade makes a clean cut, which helps the plant heal faster and seals it off from pests and diseases. Taking a few minutes to prep your tools ensures that when you prune your hydrangeas here in NZ, you're setting them up for a strong recovery and a spectacular blooming season.
Pruning Techniques That Encourage Abundant Blooms
Right, you’ve figured out which hydrangea you’re dealing with and your tools are clean and ready. Now for the fun part – making the cuts that will set your plant up for a truly spectacular show. This is where we move from theory to practice, giving you the confidence to snip away for a healthier plant and, of course, heaps of flowers.
The whole point is to create a strong, open framework that lets light and air move freely.
The easiest place to start, and something you can do all season long, is deadheading. Simply snip off the spent flower heads just above the first set of big, healthy leaves. It instantly tidies up the plant and, more importantly, tells it to stop wasting energy on making seeds and focus on growing strong instead.
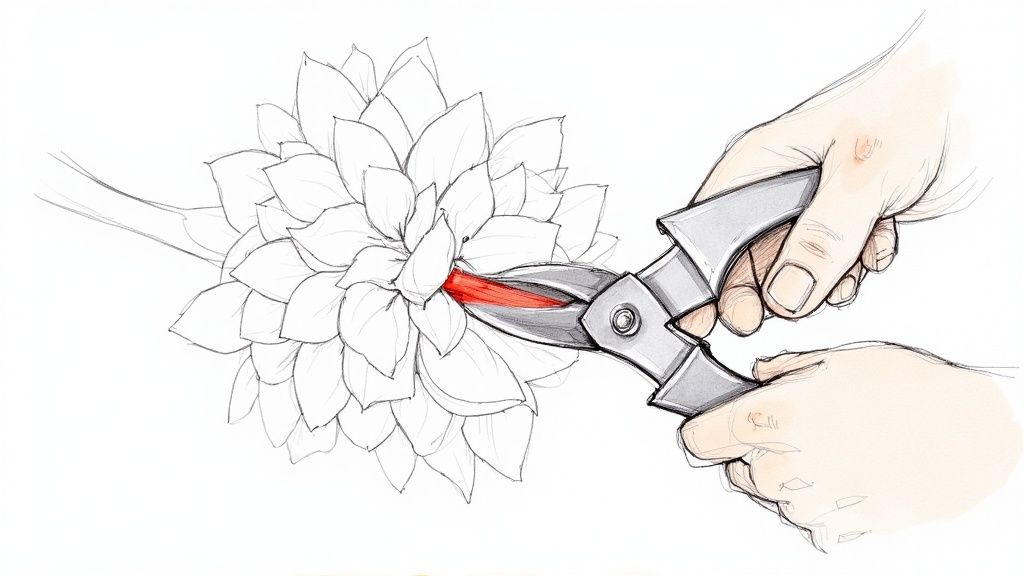
Making the Right Cut
When it comes to the main prune in late winter or early spring, we're getting a bit more strategic. We're shaping and rejuvenating the whole plant.
For every stem you plan to cut, trace it down from the old, dried flower head. You’ll notice pairs of little bumps, or buds, along the way. The goal is to cut the stem back to a healthy, plump-looking pair of these buds.
Here’s a trick I’ve picked up over the years: learn to spot the difference between a flower bud and a leaf bud. Flower buds are noticeably fatter and more rounded. Leaf buds, on the other hand, are smaller, flatter, and more pointed. Making your cut about 1cm above a strong pair of fat flower buds is the surest way to guarantee blooms.
A great guideline to follow is the 'two-bud rule'. This just means cutting stems back to a low framework, but always making sure you leave at least two sets of healthy buds on each one. It’s the perfect balance between keeping the plant's shape and getting a magnificent flower show next season.
Tidying Up the Framework
A proper prune goes beyond just deadheading; it's about improving the plant’s entire structure. This is where you get to play garden sculptor.
- Get rid of weak, spindly stems. See any thin, weedy-looking stems? Cut them right back to the base of the plant. They’ll never produce decent flowers and just steal energy from the stronger stems.
- Cut out any crossing branches. Have a look inside the shrub for branches that are rubbing against each other. Pick one and remove it to prevent wounds and open up the centre for better airflow.
- Remove all dead wood. Any stems that are obviously dead – brown, dry, and brittle – should be cut out completely. Snip them right back to the ground or to a healthy, living part of the plant.
This kind of selective thinning doesn't just make your hydrangea look a hundred times better, it also dramatically cuts down the risk of fungal diseases. Good airflow is one of the best defences you can give your plants. That principle holds true for everything, from big garden shrubs to tiny indoor ecosystems. If you fancy creating a miniature green world, you might like our guide on how to create a terrarium.
Many Kiwi gardening experts swear by this approach. Some even recommend cutting stems back to a low crown, maybe only 10cm long, to keep the plant really compact and tidy. You can learn more about this pruning method from The Plant Company, which is a fantastic resource for local gardeners.
Post-Pruning Care For a Healthy Recovery
Right, the secateurs are down, but your job isn't quite done. Think of a good prune as a bit of a shock to the system for your plant. The aftercare you provide now is what really sets it up to bounce back with vigour for a stunning flowering season.
A little feed straight after pruning helps the plant recover and channel all that energy into producing strong new stems. I find a balanced, slow-release fertiliser is perfect for this. Just gently scratch it into the soil around the base of the plant to provide the essential nutrients needed for that healthy growth spurt in spring.
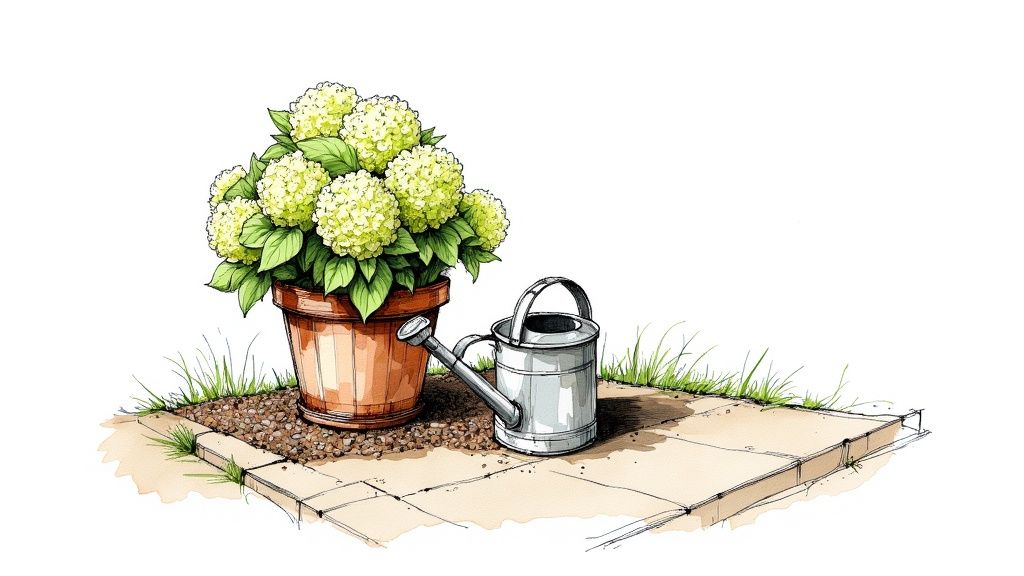
Mulching and Watering for Best Results
Applying a generous layer of mulch is probably one of the best things you can do for your hydrangeas after their annual trim. It’s a simple step, but it makes a huge difference to the plant’s recovery and long-term health.
A good thick layer of organic mulch, around 5-7cm deep, acts like a protective blanket. It locks in precious moisture, keeps those pesky weeds from stealing nutrients, and slowly breaks down to enrich the soil. You're basically creating the perfect environment for healthy roots to thrive.
You’ve got plenty of good options for mulch. I tend to use whatever I have on hand:
- Well-rotted compost
- Bark chips or mulch
- Pea straw
Finally, just keep an eye on the watering. This is especially important if you’ve had a dry winter or a particularly warm start to spring. A freshly pruned plant can be a bit vulnerable to water stress, so make sure the soil stays consistently moist but never waterlogged. It's this sort of attentive aftercare—similar to the nurturing needed for more delicate fruit trees like the ones you can learn about in our guide to finger lime trees in NZ—that ensures your hydrangea doesn't just survive, but truly thrives.
Your Hydrangea Pruning Questions, Answered
Even with a plan, it's easy to second-guess yourself when you're standing in front of your hydrangea, secateurs in hand. Let's walk through some of the most common worries NZ gardeners have, so you can snip with total confidence.
One of the biggest anxieties is simply getting the timing wrong. It's a fair concern, especially when it comes to our beloved Mophead and Lacecap varieties.
What Happens If I Prune at the Wrong Time?
If you get to your Bigleaf hydrangeas (H. macrophylla) too late in winter, or worse, in spring, you’ll almost certainly chop off the flower buds for the coming summer. These types form their buds on last year's growth, what gardeners call 'old wood'.
A badly timed prune won't kill your plant. In fact, it’ll probably bounce back with a flush of healthy green leaves and new stems. The catch? You'll have sacrificed that season's spectacular floral display, which is the whole reason we grow them! This is why varieties that flower on 'new wood', like the Panicle hydrangea, are so forgiving and a brilliant choice if you're new to gardening.
How to Tackle an Overgrown Hydrangea
It happens to the best of us – an old hydrangea becomes a tangled, woody mess. The great news is you can absolutely bring it back to life, but a gentle, staged approach usually gives the best results.
A hard 'renovation prune' is a job for late winter. A popular method is to cut back one-third of the oldest, thickest stems right down to the base of the plant. This forces fresh, productive new shoots to spring up from the roots.
By doing this over three years, you'll have a completely renewed shrub without ever losing a whole season of flowers. The remaining two-thirds of the plant will still bloom, giving you a continuous display while the plant quietly renews itself from the ground up.
If you're after a more dramatic reset, you can cut all the stems back to about 30cm from the ground. Just be prepared for fewer flowers (if any) the following summer as the plant puts its energy into recovery.
Can I Change the Flower Colour After Pruning?
The post-pruning period is the perfect time to influence the colour of your hydrangea flowers for next season. You’re already out there giving the plant some TLC, so it's a great opportunity to amend the soil.
For many Hydrangea macrophylla varieties, the flower colour is a direct result of the soil's pH and whether aluminium is available to the plant.
- For blue flowers: You need acidic soil. Sprinkling some aluminium sulphate around the plant's drip line in autumn (and again in spring) is the classic way to lower the soil pH.
- For pink or red flowers: You're aiming for alkaline soil. A good dose of garden lime will raise the pH, which locks up any available aluminium and encourages those beautiful pink and red tones.
Just remember, this colour-changing magic only works for certain varieties. White hydrangeas, for instance, will always be white, no matter what you do to the soil.
For all your gardening needs, from the perfect pair of secateurs to beautiful new plants for your collection, explore the wide range available from trusted New Zealand sellers at Jungle Story. Find everything you need to create your dream garden at https://junglestory.co.nz.