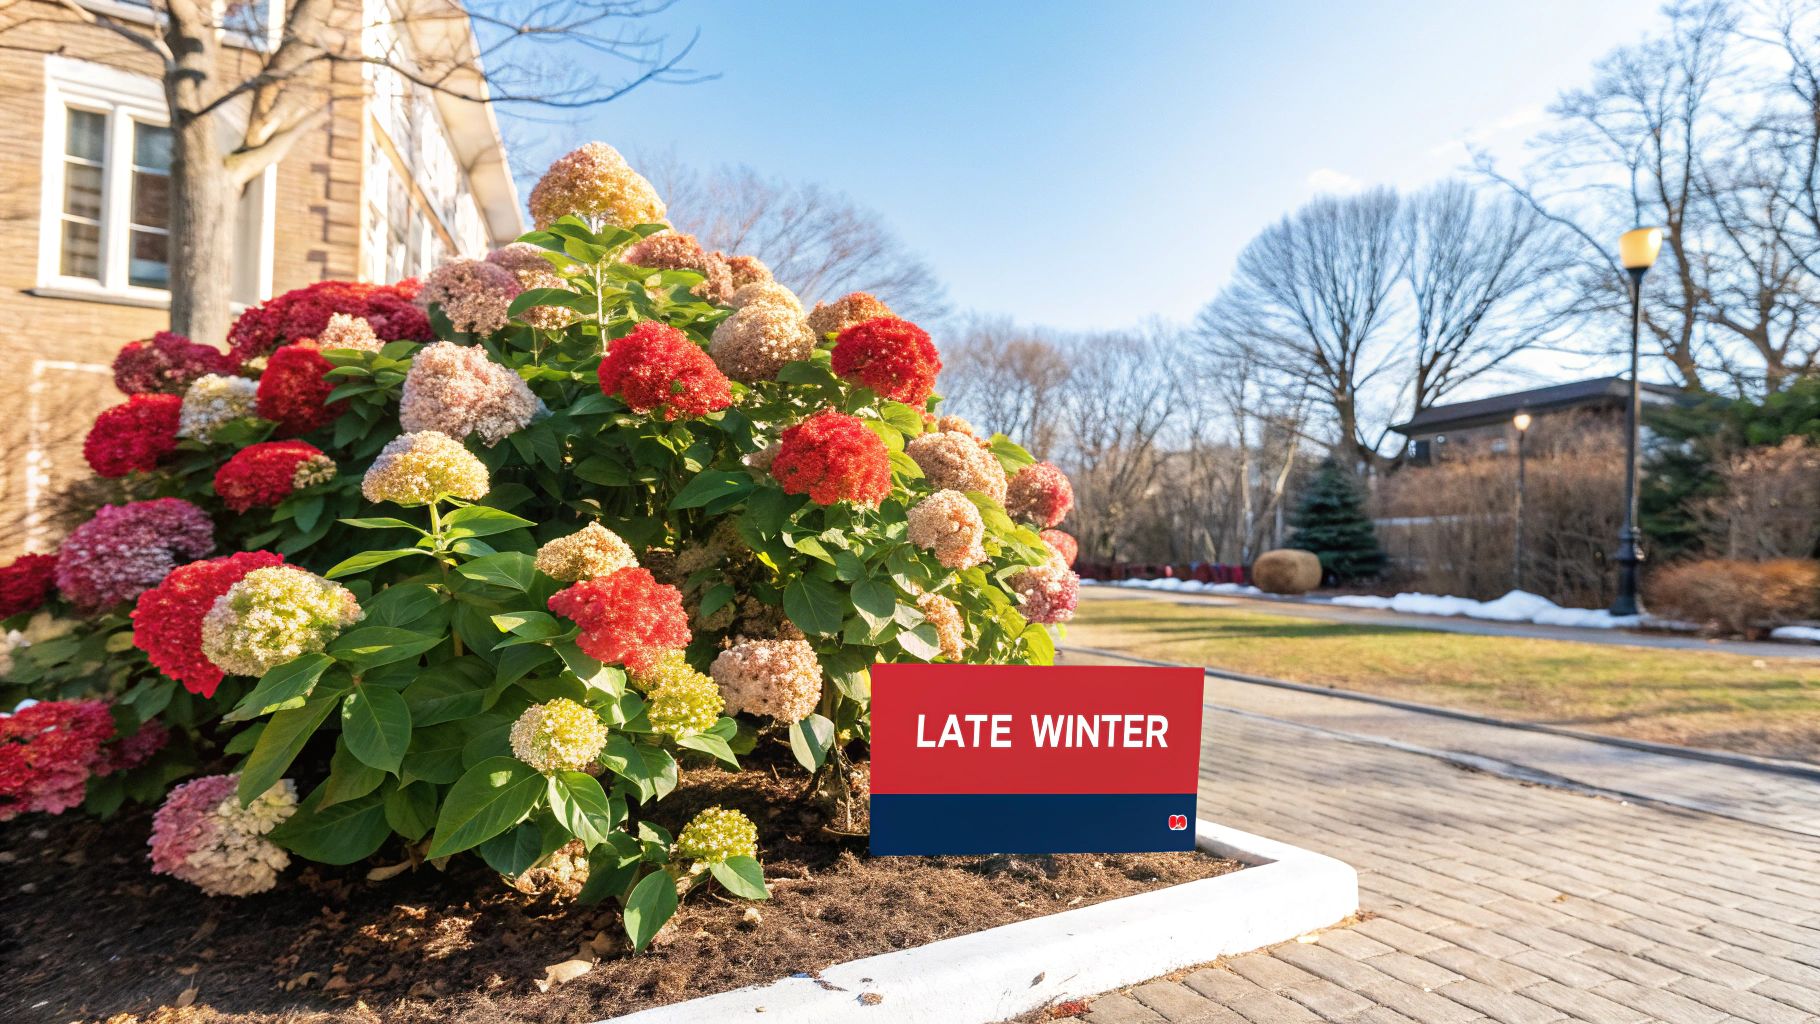
If there's one secret to getting your hydrangeas to put on a spectacular summer show here in New Zealand, it's timing your prune just right. The absolute best window for this task is in late winter, which for most of us means from July through to early September. Get this right, and you're setting the stage for a garden bursting with those big, beautiful blooms we all love.
Why Late Winter is the Sweet Spot for NZ Hydrangeas

Gardening is all about working with nature's clock, and for hydrangeas, this is especially true. That late winter period is the perfect sweet spot. The plant is dormant, so a prune won't shock it, but it’s close enough to spring that you’re less likely to be caught out by one of our country's notoriously unpredictable late frosts.
If you jump the gun and prune back in autumn, you’ll encourage a flush of new, tender shoots. That's the last thing you want. A surprise frost can easily zap that delicate growth, damaging the plant and, even worse, wiping out the flower buds for the entire next season.
Protecting Next Summer's Flowers
Most of the hydrangeas we grow and love in our gardens, like the classic Mopheads and delicate Lacecaps, are a bit special. They form their flower buds on last year's stems—what gardeners call 'old wood'. These buds develop quietly through late summer and autumn, just waiting for their moment.
Think of a well-timed winter prune as your insurance policy for a stunning summer display. You're carefully protecting those precious, invisible buds from frost, making sure they survive to burst into colour.
A Health-Check for Your Plant
Pruning isn't just about getting more flowers; it's also vital for keeping the plant healthy, especially given how vigorously hydrangeas can grow in our climate. A good trim does a few key things:
- Lets the Air In: By thinning out branches that are crossing over or getting too crowded, you allow air to circulate freely. This is your best defence against fungal problems like powdery mildew, which loves damp, still conditions.
- Builds a Stronger Frame: Cutting out weak, spindly stems tells the plant to put its energy into growing stronger ones. Strong stems are essential for holding up those huge, heavy flower heads without flopping over.
- Keeps Things Tidy: Let's be honest, an unpruned hydrangea can quickly become a tangled, woody mess. Regular pruning keeps your plant in an attractive shape and a manageable size for your garden space.
To give you a quick reference, here’s a simple table summarising the key points for pruning hydrangeas in our unique Kiwi climate.
NZ Hydrangea Pruning at a Glance
| Key Factor | NZ-Specific Guideline | Reason |
|---|---|---|
| Best Time | Late Winter (July – early Sept) | The plant is dormant, minimising stress and risk of frost damage. |
| Why Not Autumn? | Avoids stimulating new growth | Tender new shoots are highly vulnerable to being killed by late frosts. |
| Wood Type | Prune to protect 'old wood' | Most varieties flower on stems from the previous year. |
| Health Benefit | Improves air circulation | Helps prevent common fungal diseases like powdery mildew. |
| Structural Benefit | Removes weak stems | Encourages a stronger frame capable of supporting large blooms. |
While this table gives you the basics, always remember that microclimates across New Zealand can shift the ideal timing slightly. However, sticking to the July to September window is a reliable strategy for most home gardeners.
For more seasonal gardening advice and plant care guides, feel free to browse the articles on our Jungle Story news blog. You can also find more detailed information on NZ hydrangea pruning schedules on daltons.co.nz.
Identifying Your Hydrangea Before You Prune
 Okay, before you even think about making the first snip, you need to play detective. Figure out exactly which type of hydrangea you've got growing in your garden. This isn't just for fun; it's the most important thing you'll do. Different hydrangeas need completely different pruning styles, and getting it wrong is the quickest way to end up with a sad, flowerless bush next summer.
The big question is this: does your plant flower on old wood (last year's stems) or new wood (stems that shoot up this season)? This one detail changes everything about how you'll approach the job.
I can't tell you how many times I've heard from Kiwi gardeners who are mystified about their lack of flowers. The culprit, almost every time, is giving a hard prune to a hydrangea that flowers on old wood. You’re literally cutting off next season’s entire show before it even begins.
Common Hydrangeas in New Zealand Gardens
Here in New Zealand, you're likely dealing with one of two main groups. Getting familiar with them will give you the confidence to prune properly.
Blooms on Old Wood (Go Easy with the Pruners)
These are the hydrangeas that form their flower buds on the stems from the previous summer and autumn. With these, your main goal is to keep as much of that old wood as you can.
- Mophead Hydrangeas (Hydrangea macrophylla): The absolute classic. Think of those huge, round flower heads in brilliant shades of blue, pink, purple, or white. Their leaves are quite distinctive—usually thick, a bit glossy, and with serrated edges.
- Lacecap Hydrangeas: A close cousin to the Mophead. The difference is in the flower head: Lacecaps have a flat middle section with tiny, fertile buds, all framed by an outer ring of large, showy petals. They have the same pruning needs.
Blooms on New Wood (Don't Be Afraid to Cut Back)
This lot is much more forgiving. They produce flowers on the fresh growth that appears in spring, so you can prune them back quite hard. In fact, a good chop encourages strong new stems and, as a result, massive blooms.
- Panicle Hydrangeas ('Limelight', 'Kyushu'): You'll know these by their cone-shaped flower heads. They often start a beautiful lime-green or crisp white, then fade to shades of pink and red as they age. They have really sturdy stems and grow with a lot of vigour.
Your Practical Guide to Pruning Hydrangeas
 Right, with your secateurs sharpened and a good idea of which hydrangea you're dealing with, it's time to get stuck in. The real secret to a stunning hydrangea display is pruning with purpose. Every single cut should be about encouraging a healthier, more vibrant plant for the summer ahead.
Let’s walk through the right way to prune the most common hydrangeas we see here in New Zealand gardens.
First things first, your best friend for this job is a clean, sharp pair of secateurs. I always make a habit of wiping the blades with methylated spirits between plants. It's a simple step that goes a long way in preventing any nasty diseases from spreading around the garden.
Pruning Mopheads and Lacecaps
These are the classics, and they flower on old wood. This means our main goal is to preserve last year's growth, not chop it all off. Your primary job here is simply to snip off the old, dead flower heads from the previous season.
Look at a stem with a spent flower on it. Follow that stem down until you spot the first or second pair of fat, healthy-looking buds. Those are your flowers for this summer, so you want to treat them like gold. Make your cut about a centimetre above that pair of buds.
While you've got the secateurs in hand, give the plant a general tidy-up. You'll want to remove:
- Dead Wood: Cut any brittle, grey stems that are clearly dead right back to the base of the plant.
- Weak Stems: Get rid of any thin, spindly stems that look like they’ll just flop over under the weight of a big bloom.
- Crossing Branches: If you see any branches rubbing against each other, cut one of them out. This opens up the plant, improves airflow, and helps prevent disease.
Techniques for Panicle Hydrangeas
Panicle types, like the popular 'Limelight', flower on new wood, which means you can be much more confident with your pruning. In fact, a harder prune is exactly what they need. It encourages the plant to shoot out strong new stems that will hold up those massive, impressive conical flower heads.
In late winter, you can cut the whole plant back pretty hard, leaving just two to four pairs of buds on each main stem. I know it can feel a bit brutal, but trust me, you'll be rewarded with an absolute explosion of vigorous new growth and a spectacular show come summer. This technique is a key part of how successful Kiwi gardeners get the best out of these robust varieties.
What about that old, woody, neglected hydrangea in the back corner? It can feel like a lost cause, but the "one-third rule" is your best bet. Each winter, for the next three years, cut out one-third of the oldest, thickest canes right down at the base. This process gradually revitalises the shrub without you having to sacrifice an entire season of flowers.
Getting the timing right really does matter. Many New Zealand gardeners who prune too early often report a significant reduction in flower density. Following the correct seasonal window is clearly one of the biggest factors for success. You can see more on effective hydrangea pruning practices from The Plant Company.
For more in-depth guides on looking after all your garden favourites, feel free to browse our other plant care articles.
Common Pruning Mistakes NZ Gardeners Make
Even the most experienced gardeners can get it wrong sometimes. When it comes to hydrangeas, a few common mistakes here in New Zealand can be the difference between a shrub bursting with colour and one that's all leaves and disappointment. Knowing what these pitfalls are is the first step to pruning with confidence.
One of the biggest blunders is getting the timing wrong. I know how tempting it is to get out there for a big tidy-up in autumn, but pruning your hydrangeas then is a recipe for a sad summer. Cutting them back too early encourages new, tender growth that our unpredictable late frosts will absolutely demolish. This often means you're sacrificing next year's flower buds before they've even had a chance to form.
The All-or-Nothing Approach
Another classic slip-up is treating every hydrangea variety the same way. Giving them all a hard, ‘one-size-fits-all’ prune can be particularly devastating for the popular Mophead and Lacecap types. These beauties flower on ‘old wood’—that’s the stems that grew during the previous season. If you chop them all back, you’re literally snipping off every single one of your potential flowers for the year ahead.
On the other hand, being too scared to prune is just as problematic. A fear of cutting too much can lead to not pruning at all, which results in a crowded, tangled mess. The plant develops weak, spindly stems that just can’t support big, beautiful blooms, leaving you with a poor show of small, underwhelming flowers.
Don't let fear hold your secateurs hostage. A confident, well-informed cut does so much more for your plant's health and flowering power than no cut at all. The aim is to build a strong, open framework that can produce those stunning blooms we all love.
By sidestepping these common mistakes, you’re well on your way to mastering hydrangea pruning in NZ. It's as much about learning what not to do as it is learning the right way to do it, setting your plants up to thrive season after season.
Essential Aftercare For Thriving Hydrangeas
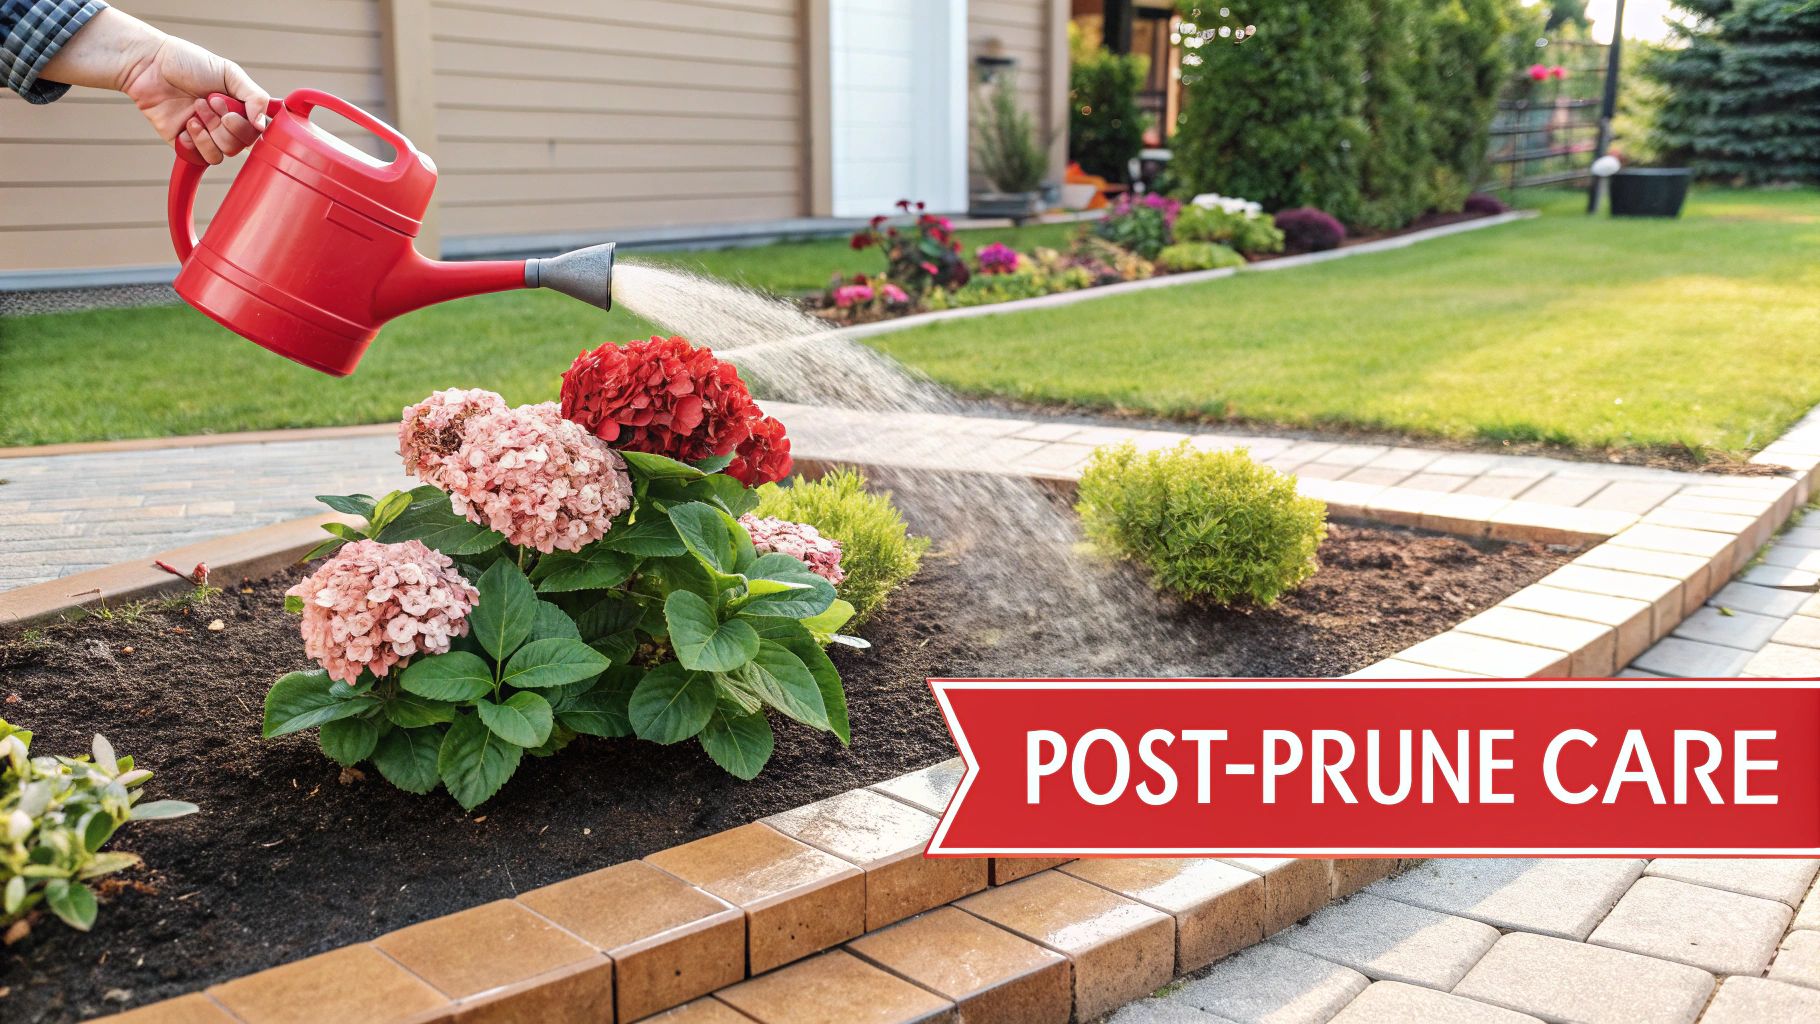
Alright, once you’ve cleaned and put your secateurs away, your job isn't quite finished. What you do after the prune is what really sets your hydrangeas up for a spectacular season, especially with New Zealand's famously unpredictable climate.
Think of this next stage as helping your plant recover and refuel. The first thing I always do is spread a good, thick layer of quality mulch around the base of the plant. Something like bark chip or pea straw works brilliantly. It’s a simple step, but it’s vital for protecting the roots from any late frosts and helps lock in precious moisture as the days start warming up for spring.
Feeding And Colour Adjusting
Next up is feeding. As soon as you spot that first flush of new growth in early spring, it’s go-time. This is when your hydrangeas are crying out for a boost. A balanced, slow-release fertiliser gives them all the essential nutrients they need to push out strong new stems and, eventually, those incredible blooms.
This is also the perfect window to play around with flower colour, which is always a bit of fun given the different soil types across NZ.
- For those brilliant blues, you’ll want to apply some aluminium sulphate around the plant's drip line.
- If you’re dreaming of lovely pinks or reds, use garden lime to raise the soil's pH level.
A well-fed and mulched hydrangea is a happy and resilient one. This aftercare is just as crucial as the prune itself, giving the plant all the energy it needs to produce those show-stopping flowers we all love.
For more in-depth advice on a whole range of indoor and outdoor plants, feel free to browse our other Jungle Story plant blogs.
Your Hydrangea Pruning Questions, Answered
Even with the best plan, it’s easy to feel a bit hesitant when you’re standing in front of your hydrangea bush, secateurs in hand. I get it. A few common questions pop up time and again for Kiwi gardeners, so let's clear up those last-minute doubts and get you pruning with confidence.
Can I Prune My Hydrangeas in Autumn in New Zealand?
It’s tempting to get the garden tidied up in autumn, but for hydrangeas, you really need to resist. Pruning too early, especially in most parts of New Zealand, can encourage a flush of new growth. That new growth is far too soft and tender to handle the winter frosts that are just around the corner.
Not only does this damage the plant's health, but you also risk snipping off the flower buds that are already setting up for next summer's show. It’s always best to wait until the plant is properly dormant in late winter, usually around July or August.
What Happens if I Cut All the Stems Back on My Mophead?
If you give a Mophead or Lacecap variety a hard prune all over, you'll almost certainly be sacrificing next summer's flowers. It’s a classic mistake. These popular hydrangeas bloom on what we call 'old wood'—the stems that grew during the previous season.
A severe, uniform chop on a Mophead is one of the most common reasons for a flowerless summer. You're essentially removing all the wood that was going to produce blooms, leaving you with a lovely green bush, but no colour for a full year.
My Hydrangea Didn't Flower. Should I Still Prune It?
Yes, absolutely. A good prune can be just the thing to get it back on track. A lack of flowers often points to other issues—maybe incorrect pruning last year, not enough sun, or poor soil conditions.
This winter, give it a strategic trim to reset its structure. Concentrate on cutting out any dead or spindly wood first. Then, lightly trim the healthy stems back to a strong, fat pair of buds. This clean-up encourages a much healthier framework and sets the stage for better flowering potential next season.
How Do I Revive an Old, Overgrown Hydrangea?
Tackling a big, woody, and neglected hydrangea can feel daunting, but the 'one-third rule' is your best friend here. It’s a gentle, staggered approach that revives the plant without sending it into shock.
- Year One: In winter, find the oldest, thickest stems. Cut one-third of these right back to the base of the plant.
- Year Two: The following winter, do it again. Take out another third of the original old canes.
- Year Three: Finally, cut out the last of the old, tired stems.
By spreading the renovation over three years, you encourage fresh, vigorous new stems to shoot up from the base. You get a completely revitalised plant without ever losing a full season of flowers.
At Jungle Story, we're passionate about helping Kiwi gardeners succeed. For everything from vibrant outdoor shrubs to stunning indoor greenery, explore our wide selection at junglestory.co.nz.